So, I guess I am another one of those, "tight for space" new converts from OO gauge to the wonderfully smaller N Gauge, and boy am I loving it!
Join me as I endeavour to build my very first model railway layout in N Gauge!
Everything will be built on a board measuring only 4ft x 3ft and will include a Residential Area, a Business and Retail Park that includes a Multi Storey Car Dealership and an Imax 3D Cinema/Theatre. A Mountain Terrain, countryside Roads, City Roads, Sky Scrapers, a Fire Station, a Lake with boats and of course a custom built Train Station, and much more! All of this on a 4ft x 3ft board.
That is why I love N Gauge!
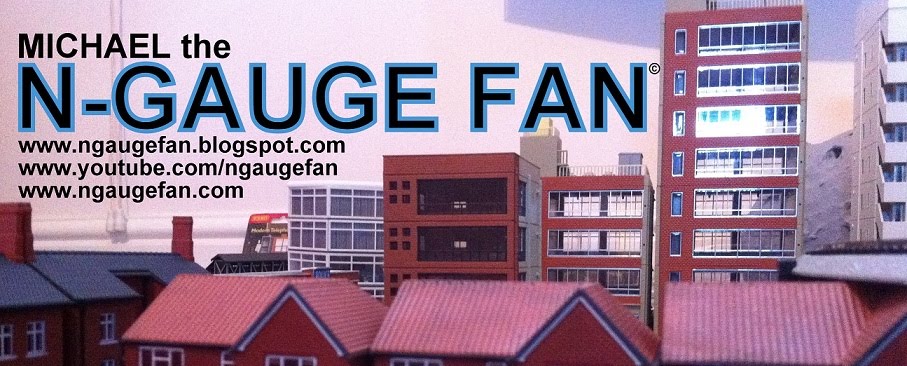
IT ALL STARTED WITH A NOTICE BOARD AND A BASIC
OVAL BACHMANN STARTER TRAIN SET!
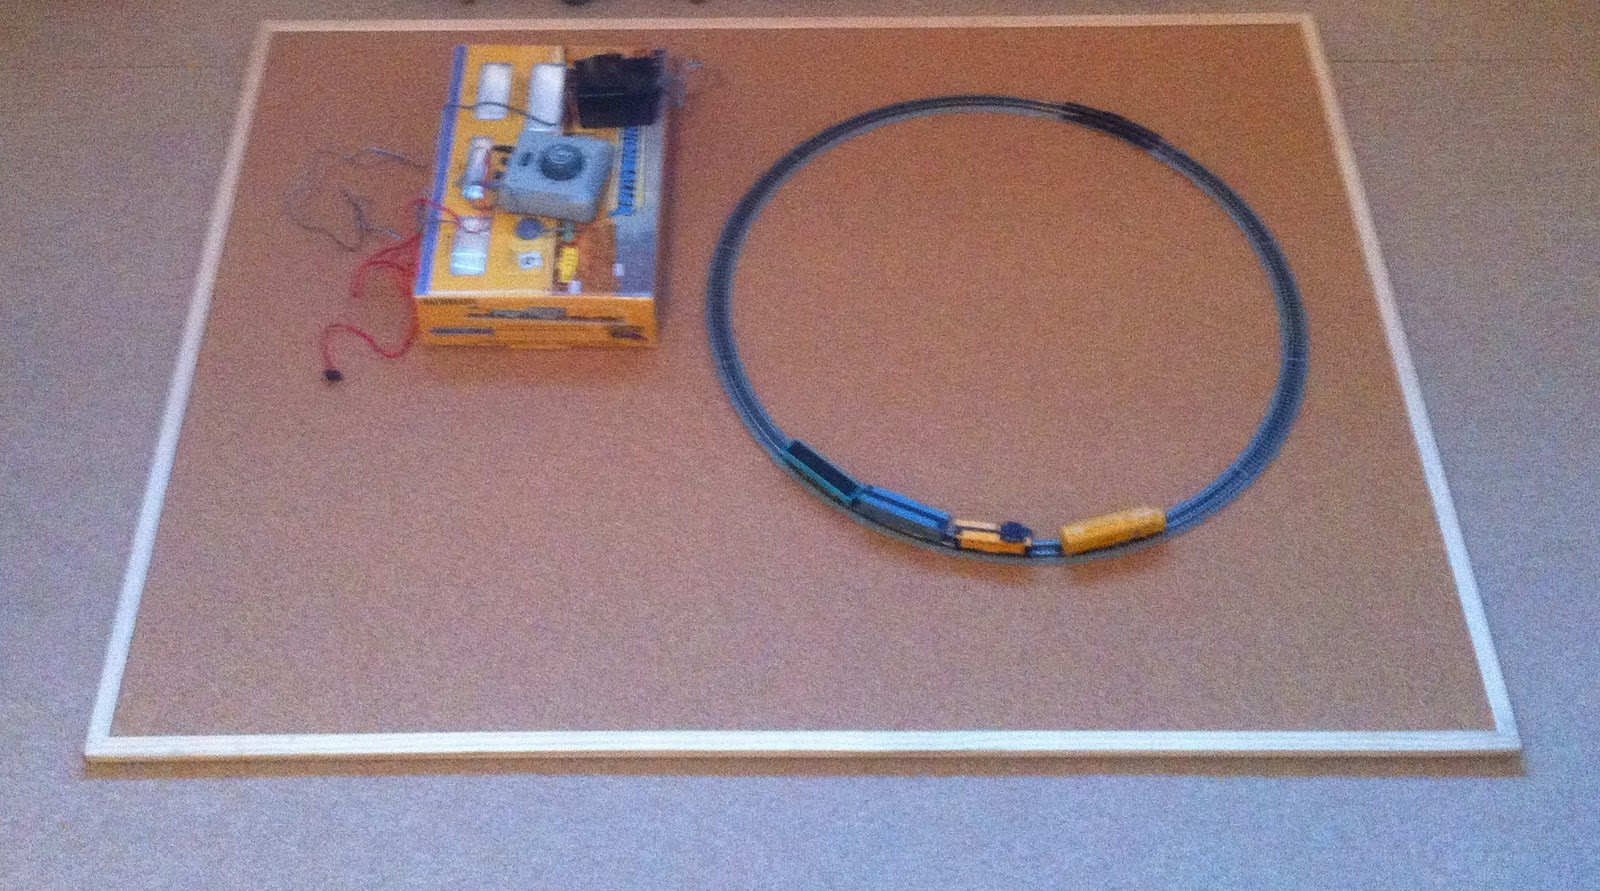
I then bought some scenic grass on paper
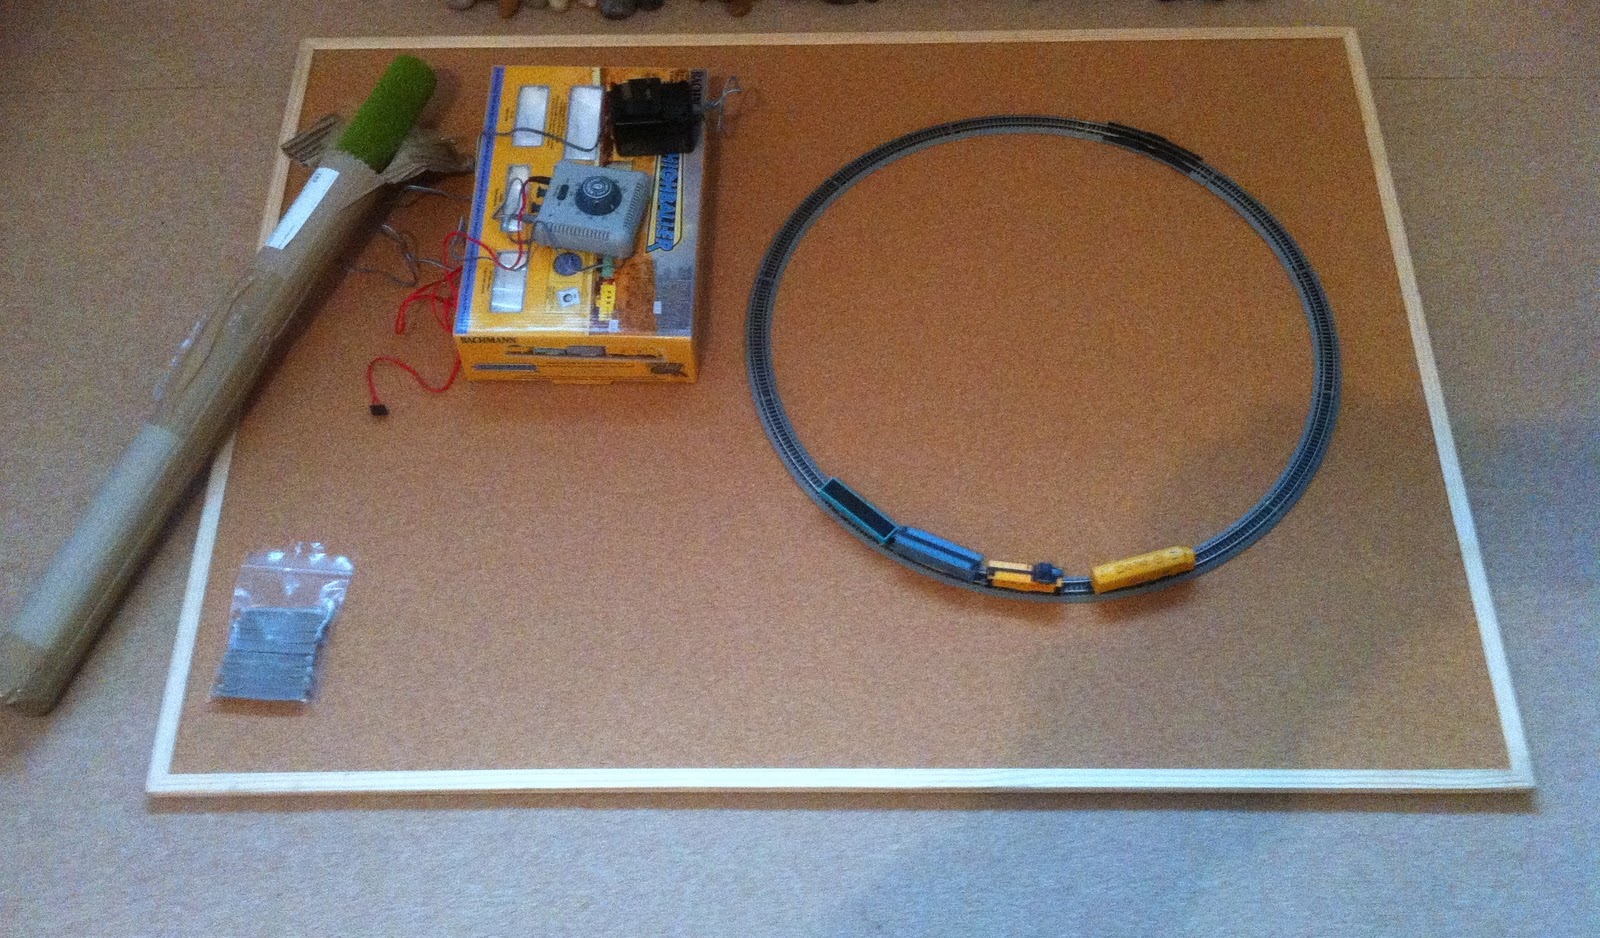
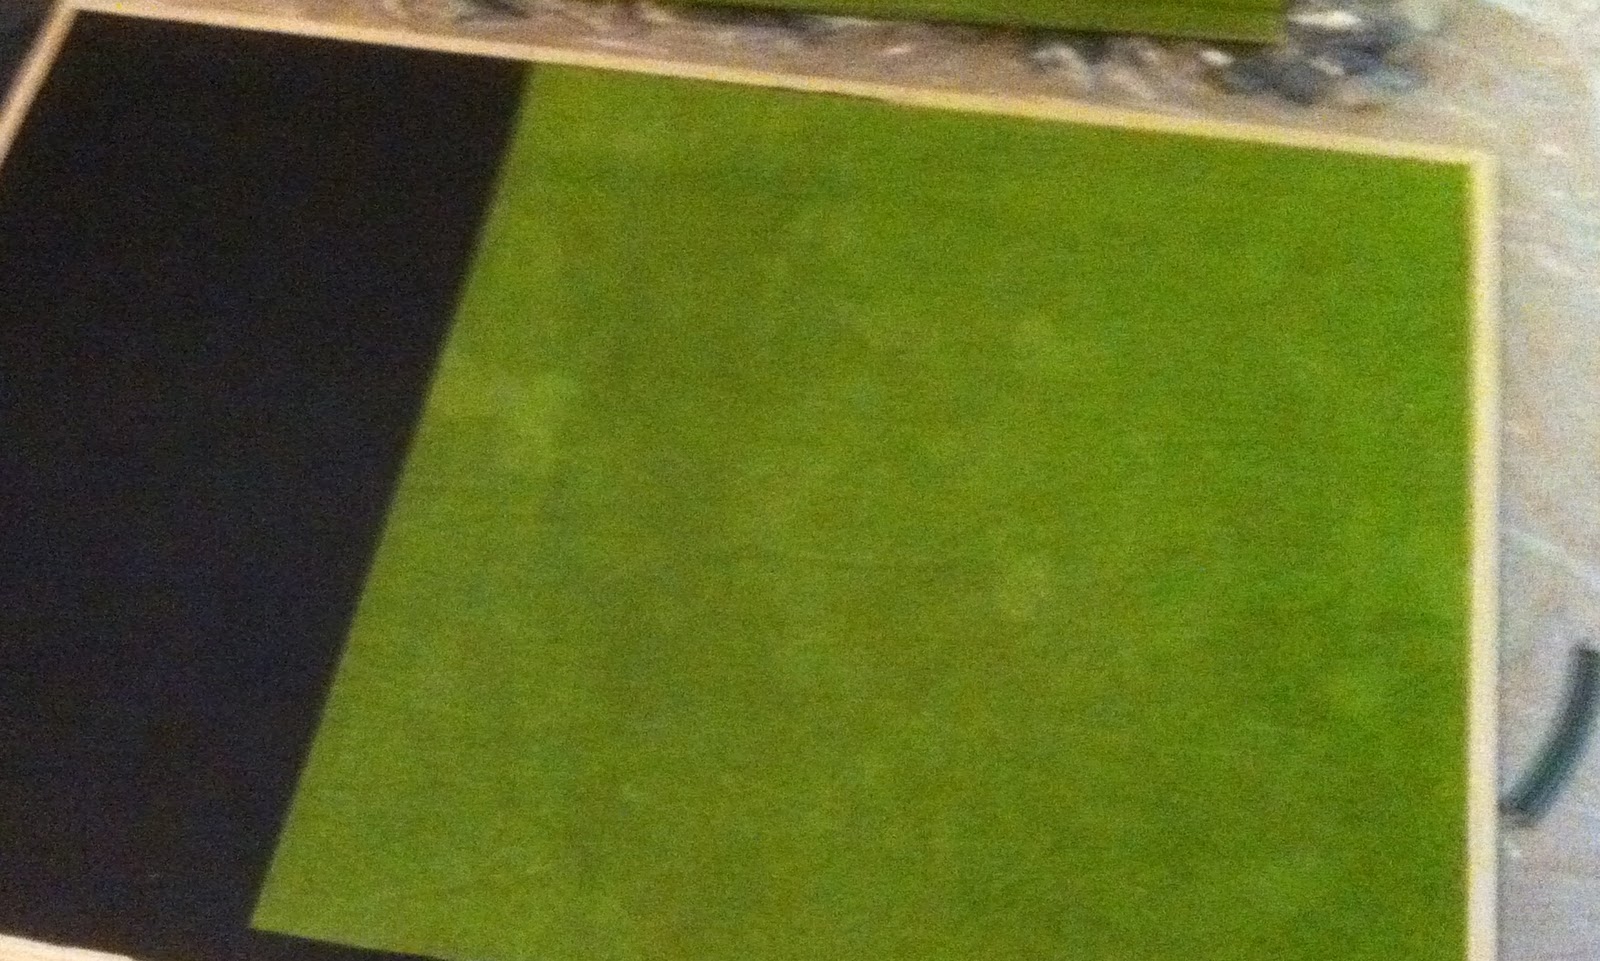
I painted a section of the board using black matt paint


I then applied my grass mat using PVA glue
At this point, I decided to go freestyle and keep in my head what design I was going for. Nothing on paper!
So I went ahead and got some adhesive road made by Heki. NOTE: I do not recommend starting a layout without a plan! I however, have a photographic memory when it comes to things I have a huge interest in. Anything else in life, i'm a goldfish!!!!

I then decided I needed a lot more track! So I went ahead and purchased a varied selection of Peco and Bachmann tracks (I know some of you purists would recommend never mixing track brands) but later you will see how it worked out well for me!

I then had to think about hills and mountains, and decided to make some from scratch using expandable fast drying foam
 .
.Even though the foam (designed for builders and DIY enthusiasts for filling cavities and gaps in walls) boasts a fast drying time, I left it to dry overnight, and then started painting them in a grey matt colour

I bought a pre-built train tunnel that in my humble opinion, was not high enough for all varieties of rolling stock to go under, so I used more expandable foam to to make the tunnel mouth higher! (This foam stuff is really becoming quite invaluable)

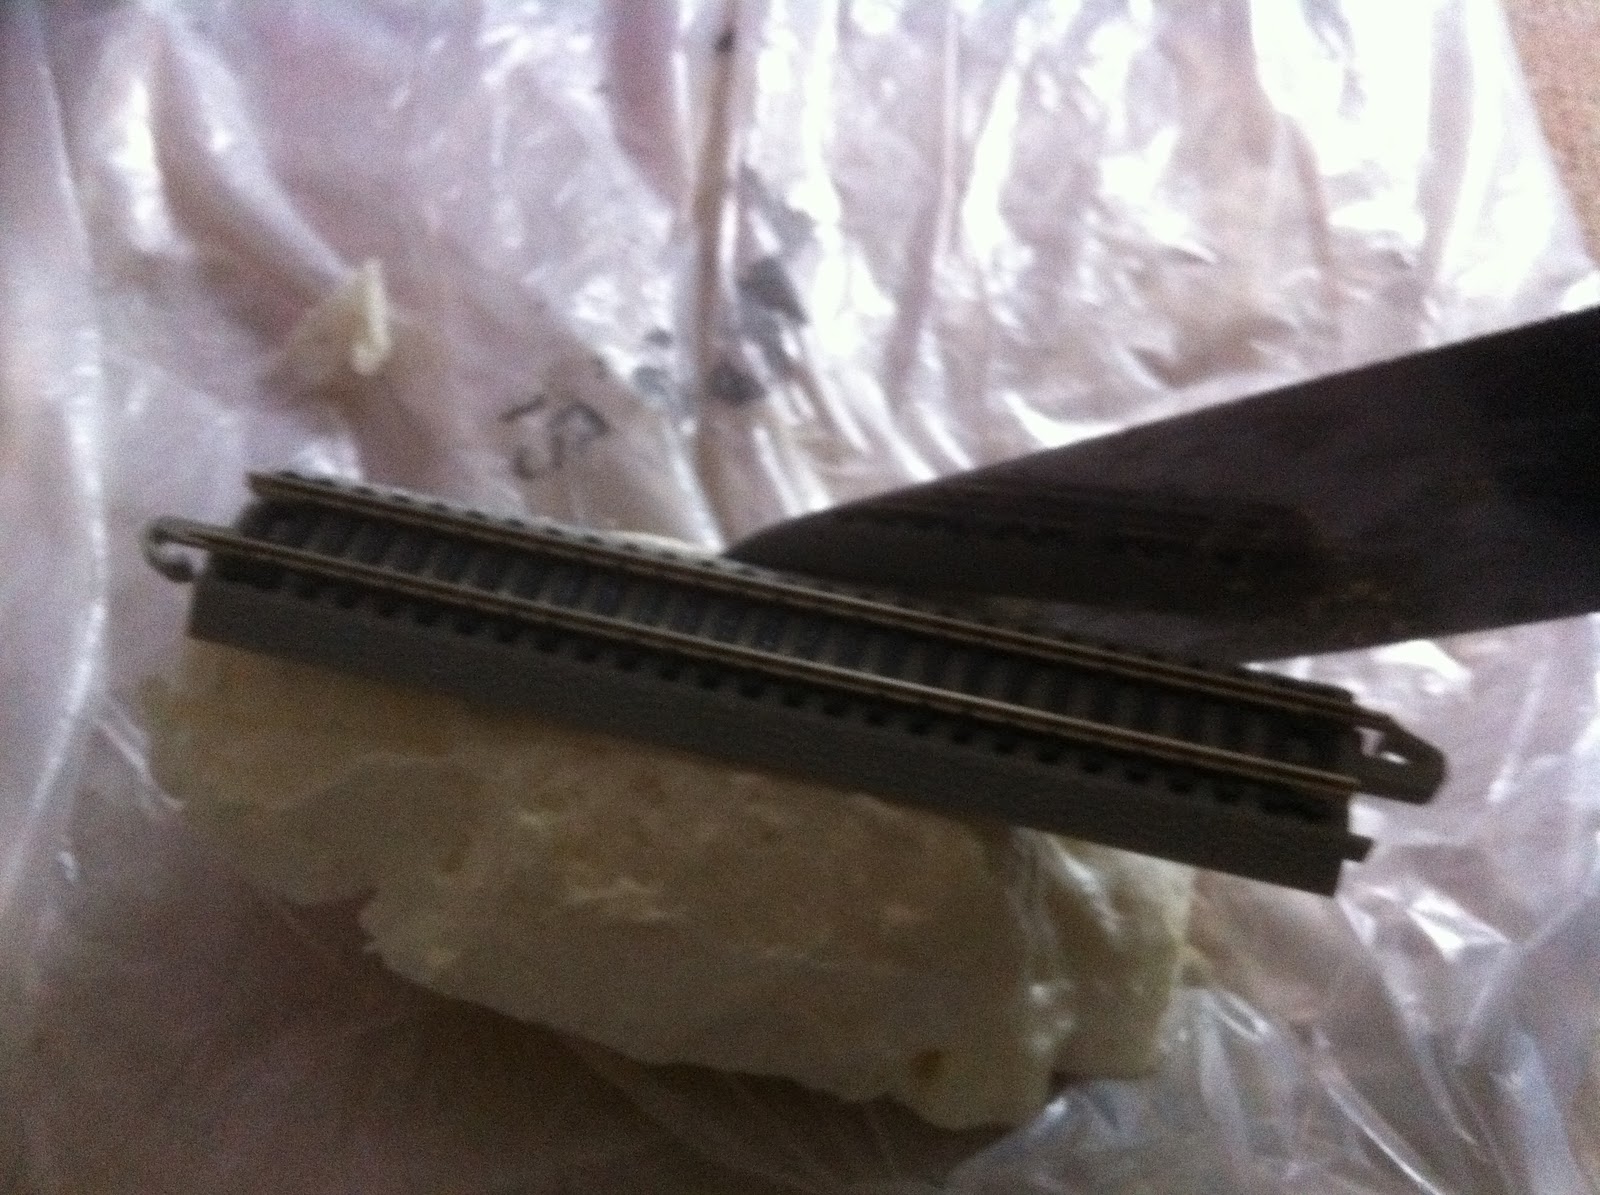
I then cut away the excess dried foam

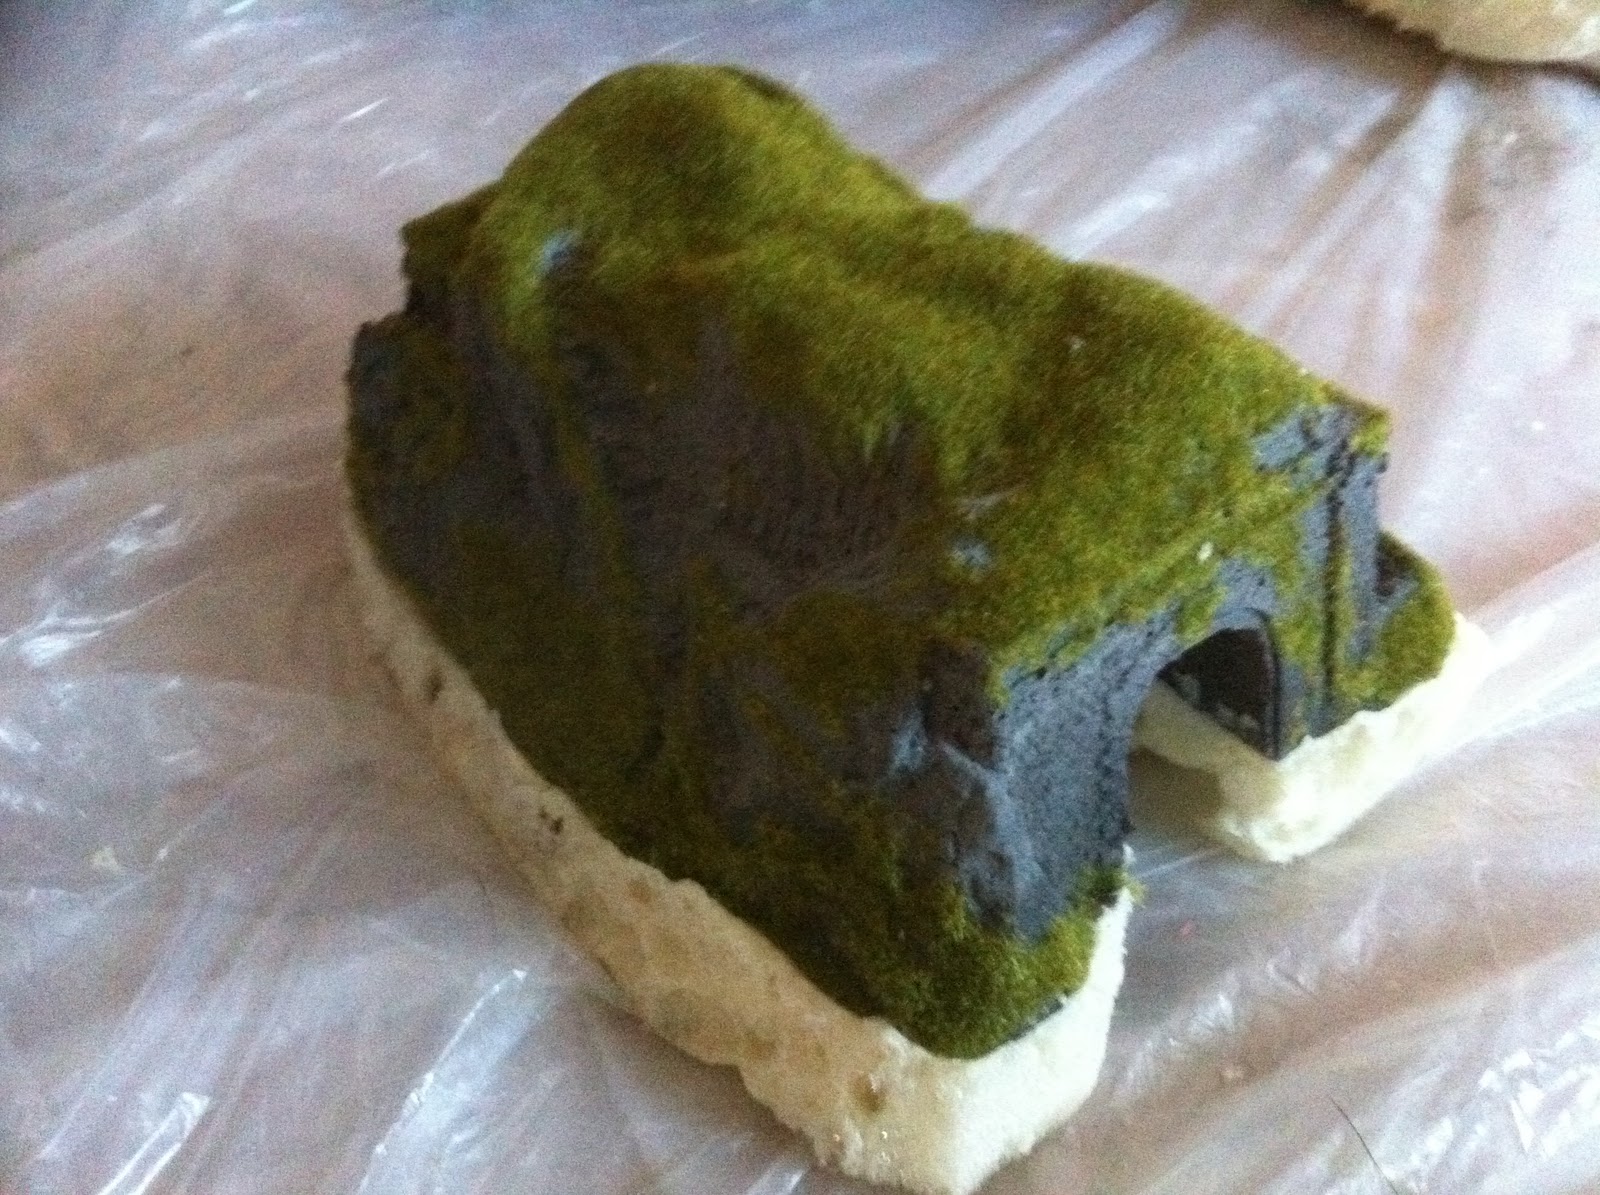
I then painted the newly cut foam. Later on in my build you will see that I added some shrubbery and grass to make it more realistic

Now that my scratch built mountains have dried, I placed the large one as a backdrop for part of my layout

Now for some hedging along the bottom of the mountain

I added more track

At that point I wanted to make a portion of the track elevate and cross over another section of track, however, I could not find any UK seller that had the Bachmann E-Z track elevation pieces, so out came the expandable foam again and hey presto! Look below!


I will paint this piece of foam later

I also needed to get hold of some Bachmann E-Z track Tall Pier pieces to support the elevated track, but again, no UK supplier had them in stock! So I went online and managed to source some from the USA and put together a basic single track outline

I then glued a section of my track down


I started my ballasting for that realistic look

I then used some pre-cut sponge ballast for the Peco sections of my track

I also put the same real stone ballasting on the sponge for consistency and realism

I placed my other scratch built mountain on my layout, then placed some very realistic looking trees on it and covered the rest of the mountain with watered down PVA glue in preparation for some dark earth and grass scatter
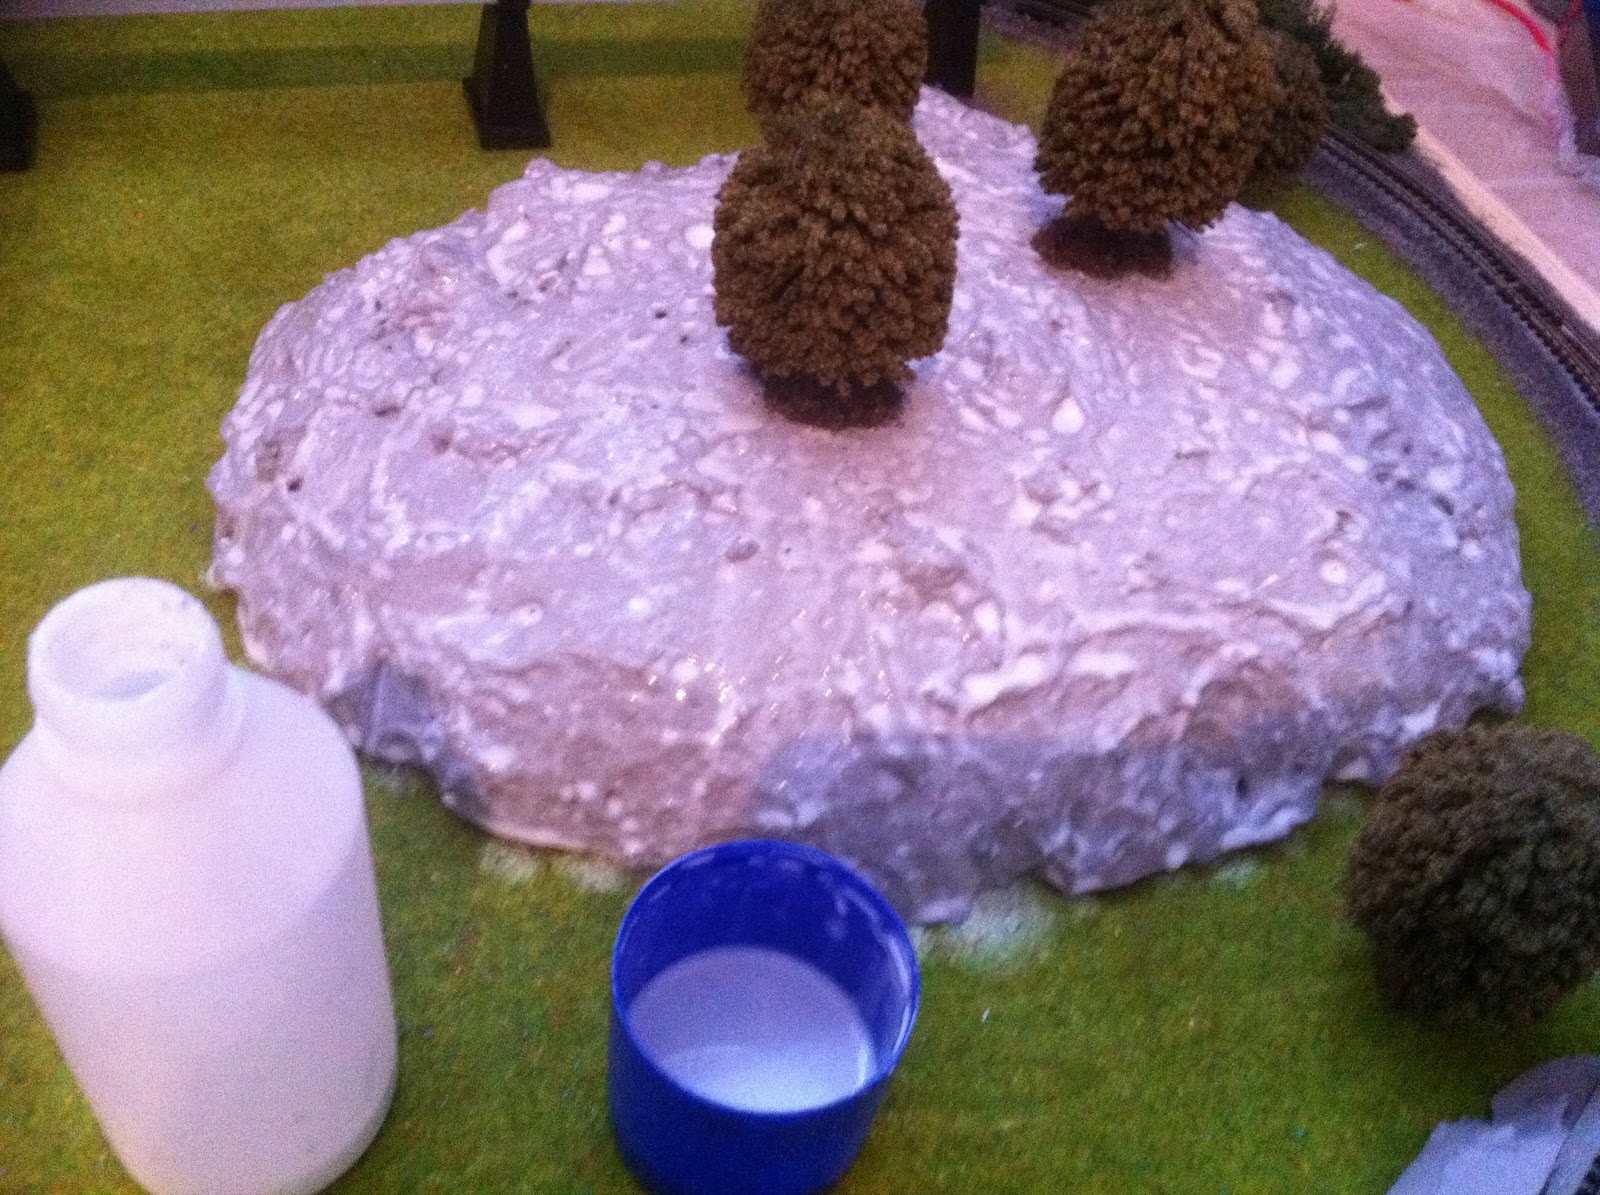


You will see the finished mountain later. I now decided to develop the non grassy area of my layout by putting down a bit more grass (paper based) for the residential houses and some road. Notice I did not pay too much attention in making the grass section perfectly align the road, this is because I will be laying some stone walls and earth that will hopefully cover all the gaps. The next series of photos will show you how I developed this entire section of my layout with modern houses, office blocks and more!

Here I laid down the brick walls for the houses

I added the houses, and some earth/soil in the back garden!

Here I am making a walkway & driveway for the houses using sand ballast. The public walkway section will be painted grey, the driveway will be left in it's original sand coloured state

Applying some PVA glue for the driveway, then I will sprinkle more sand coloured ballast

Driveway complete!

Making a parking lot for the office buildings and hospital that will be introduced later!

Parking area coming along nicely


STOP PRESS! The first batch of Kato buildings have arrived!
One Kato 23-431A and two Kato 23-434B


STOP PRESS AGAIN! Then I won a bid on ebay and got this much sought after car dealership! (you can see it in the background below) I was so pleased when I won that auction because these are so hard to get hold of now, and they are blooming expensive, but I got mine at a decent price :)

I just love the interior detail of this car dealership!

Here I am laying down more sand ballast to make a walkway/pavement for my pedestrians

I again painted over the ballast to make it grey for that side-walk/pavement effect!

Sidewalk complete! Here, I also made a large communal back garden for some residential flats/apartments coming later. Notice the very manicured hedging along the edges!

Residential apartments in place!

Here, I converted a Hornby Lyddle End office N8768 into a Police station by printing a police sign onto photo paper and also by painting out the original "Goods In & Out" signs above the shutters. This police station will be situated next to the residential apartments

Here are more pictures of how I have developed this section of my layout so far


STOP PRESS YET AGAIN! I was excited to receive two more long awaited Kato buildings (from Japan) the all new Kato 23-437 and Kato 23-439. You will see what I do with these in the following series of photos

Introducing the Hotel project to my layout, meant I had to make modifications to the grassy mountain I made earlier. I needed to make more space! So I cut a portion away and laid some earth. I guess that's what they call commercial development! :)

Here I am preparing the foundation for the hotel. I will be using the Kato 23-439 building and will be converting it into the 5 star establishment! The photos below show the forecourt area in the making.

Undercoat

More black paint for the tarmac effect, which will dry to a matt finish

Hotel in place and more landscaping! I added some grass to the newly cut mountain area, and introduced hedging around the hotel forecourt

I added more earth for that realistic look!

The forecourt! I will be doing more to it later!

I will come back to the hotel development later. Now this portion of the board (below) will be used as a Fire Station. It will include an outside fire fighting training yard and an outside parking area for the engines and staff!
Firstly I laid down some brown ballast, flattened it a bit before the glue dried, and then once completely dried, I painted it

As per below, here is the fire station development. I'm just waiting for the fire engines now, which you will see later in a set of photos and another YouTube video I will be posting early Feb 2011

Ok, here I introduced the kato 23-437 corner building to my layout for my Imax 3D Cinema complex! I made my own Imax Cinema/theatre sign

I then installed (on the outside of the building) a full colour LCD rotating picture display! I had to paint it to make it look less like a digital keyring picture frame (hint hint) and more of a major movie billboard display! See below. You can see it in action on my YouTube channel and on a video I will be posting later on this page

Here it is on the building to give you an idea, however, I will be taking it off again to do a bit more detailing! Notice I have also started laying down a concrete forecourt area outside the cinema/theatre

For now, here are a few more snapshots of my layout so far (a sneak preview). To think this was all done (so far) on a small office notice board, and it was my very first attempt at a project like this! That again.. is why I love N-Gauge!


The communal back garden of the apartments

A road leading to the train station (notice my hand made billboard advertising a real film company that I hope to re-launch in 2011. MW MEDIA WORKS!

A test run of my N Gauge Virgin Voyager Class 220 by Graham Farish

Birds eye view of my unfinished layout so far, and the carnage surrounding it! lol

Ok, so I have much more work to do on my project re landscaping, a river with boats, lighting, an industrial area, shopping area, more vehicles, buildings, people, and of course the train station and trains!. When it is finished, I will post a complete video, but for now, please watch a short video of the UNFINISHED project below.
NEW UPDATES BELOW!
OK, more snapshots of my layout as the build continues!
Here are two new ambulances in the yard area of the hospital (notice the little police community support Smart car is out and about already on it's little patrols! lol

Here I have added a post box, a zebra/pedestrian crossing, cars, people and pelican lights. All located by the residential houses and apartments

More work done to the car dealership and forecourt!
I made the sign on the roof and used my real initials as the name of the dealership!
I also added some high wire fences for security! All of my fencing is by a company called Davfen Miniatures.

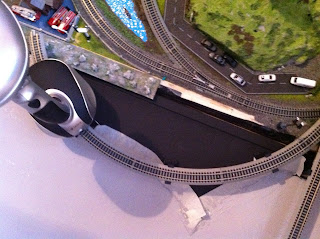
Aerial shot


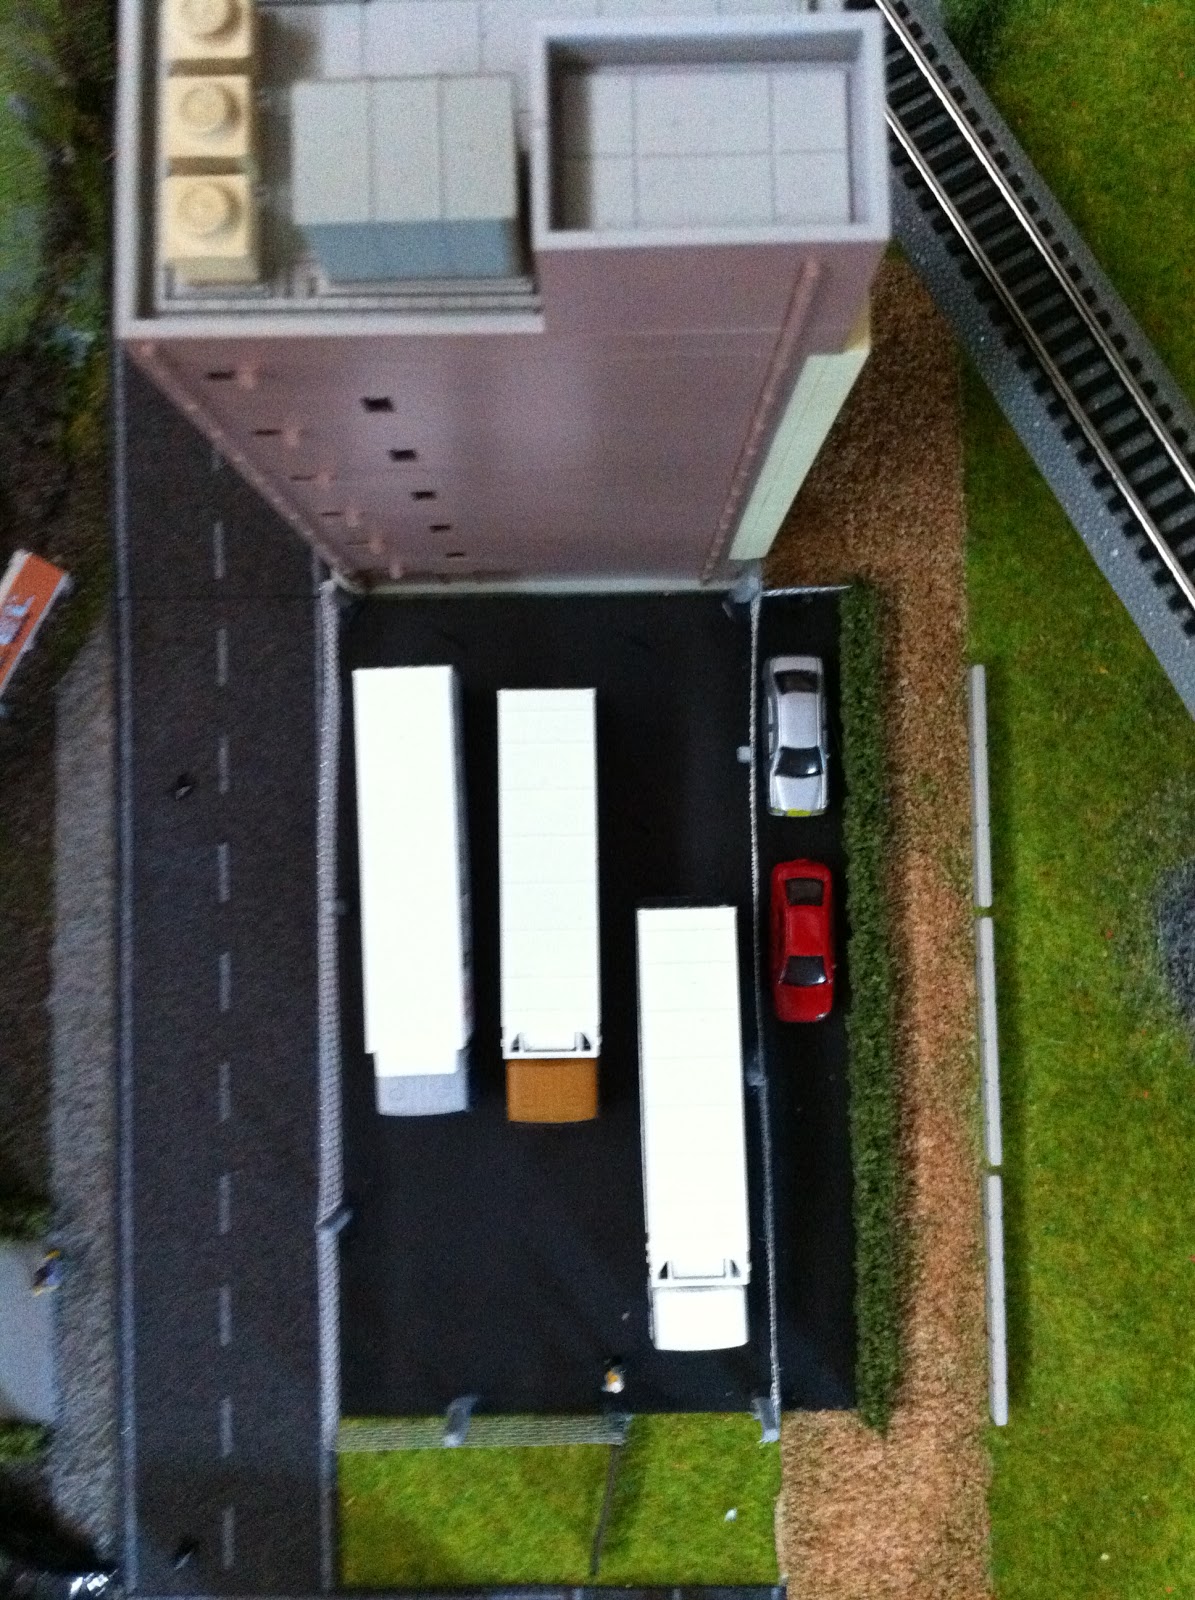
Here is a goods or haulage yard I made for a yet to be named company. I sourced the highly detailed trucks from China. I will post detailed pics of trucks at a later stage. Oh and if you look carefully, you can see I placed a foreman by the entrance/exit gate, making sure I (the photographer) can't get in! lol (I love this hobby)

An aerial shot of the same haulage company building and goods yard with trucks. Does anybody know where I can find any Eddie Stobart or Coca Cola/Pepsi truck in N Scale? I have looked everywhere but no joy. Leave a message if you know please, thanks.
MORE UPDATES!
I ordered two Hornby N8749 Faulkners Electrical Stores and converted one into a Burger bar with hungry customers outside!

I kept the other Electrical store in it's original state. Here they are next to each other!

OK here we go, I have now started on a small lake on my layout. I am using a blue card like base, and a rippled see through sheet of plastic. I cut out a rough shape to fit the area I was working on, and stuck it down. I then used some Peco dark earth to put around the edges. Once the glue has dried, I will vacuum up the excess earth, do a bit more detailing and then add boats! More on that later

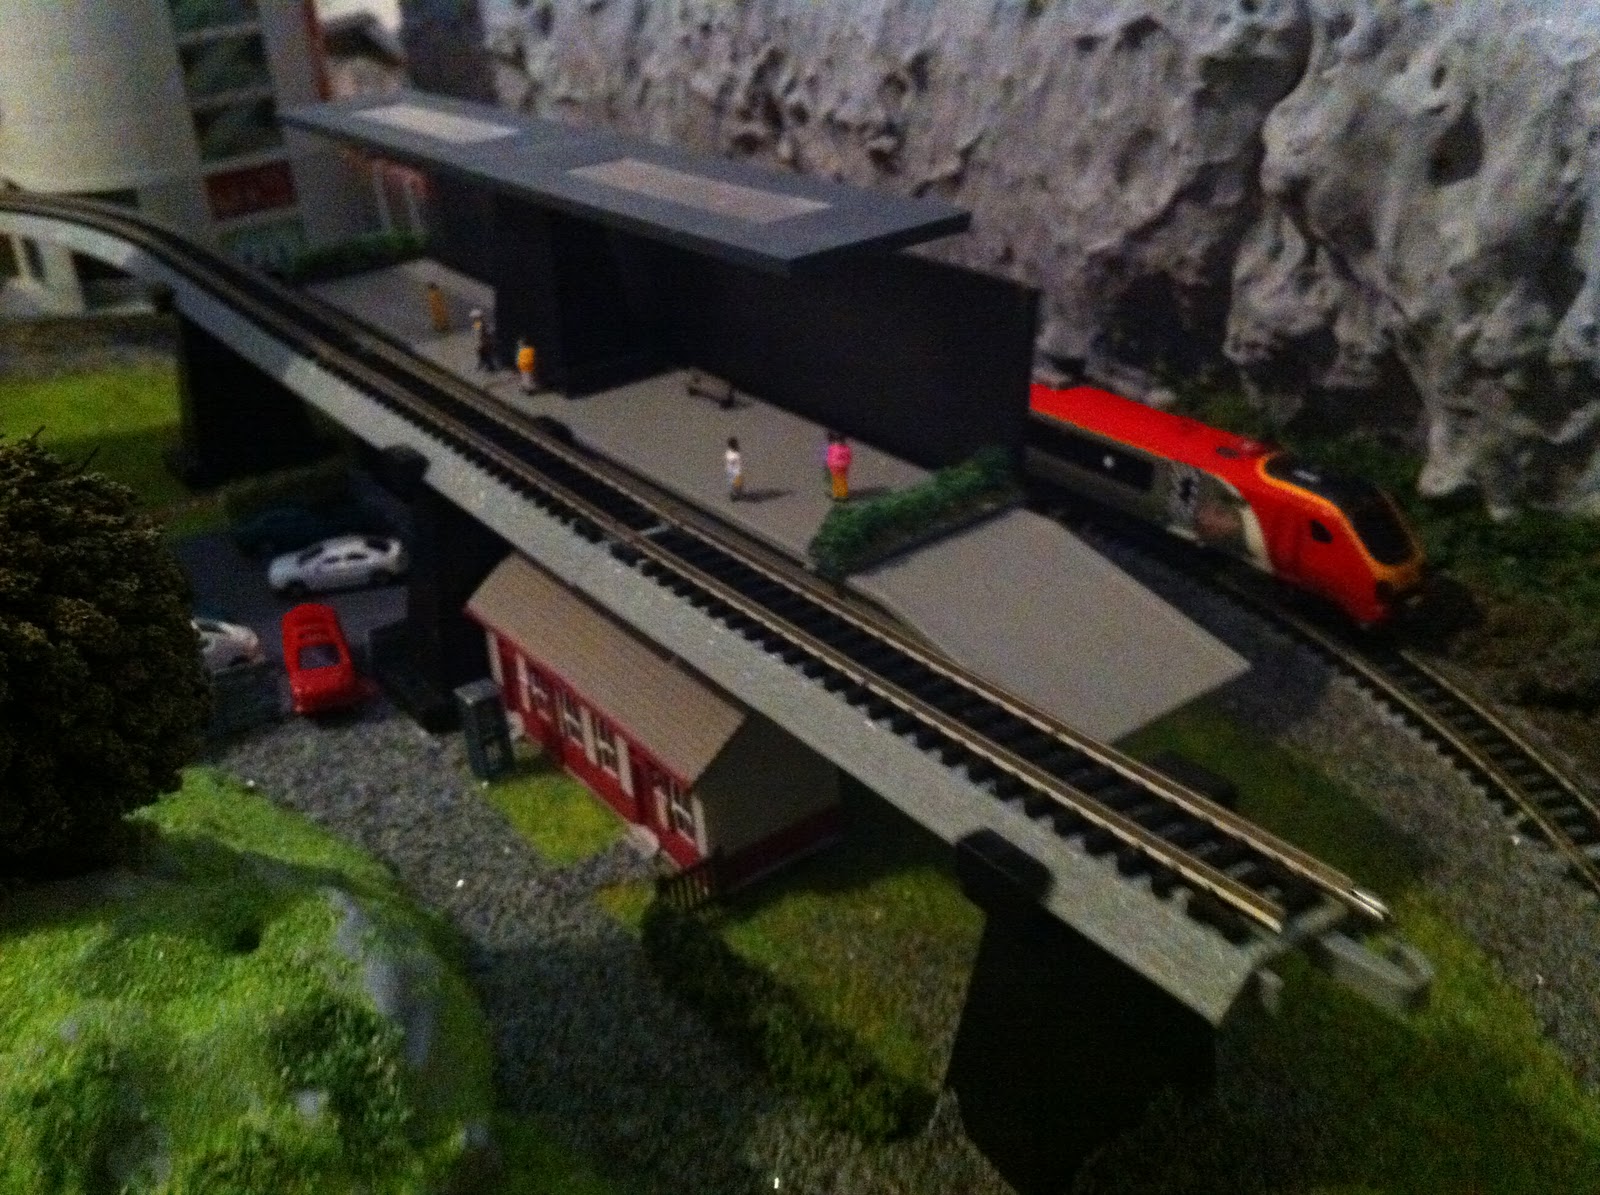
Here is a photo showing the semi custom built train station I made. The entrance is on the ground level via the booking hall. Passengers will go in via the booking hall and then up an imaginary lift or escalator to the above platform! And of course, commuters can park their vehicles in the car park I added.
Notice I have left the elevated piece of track incomplete and open ended with no buffer. All will be explained a little later as I get more imaginative with my design!
The photo below shows a little power base board I am putting together to control the trains, lighting and points

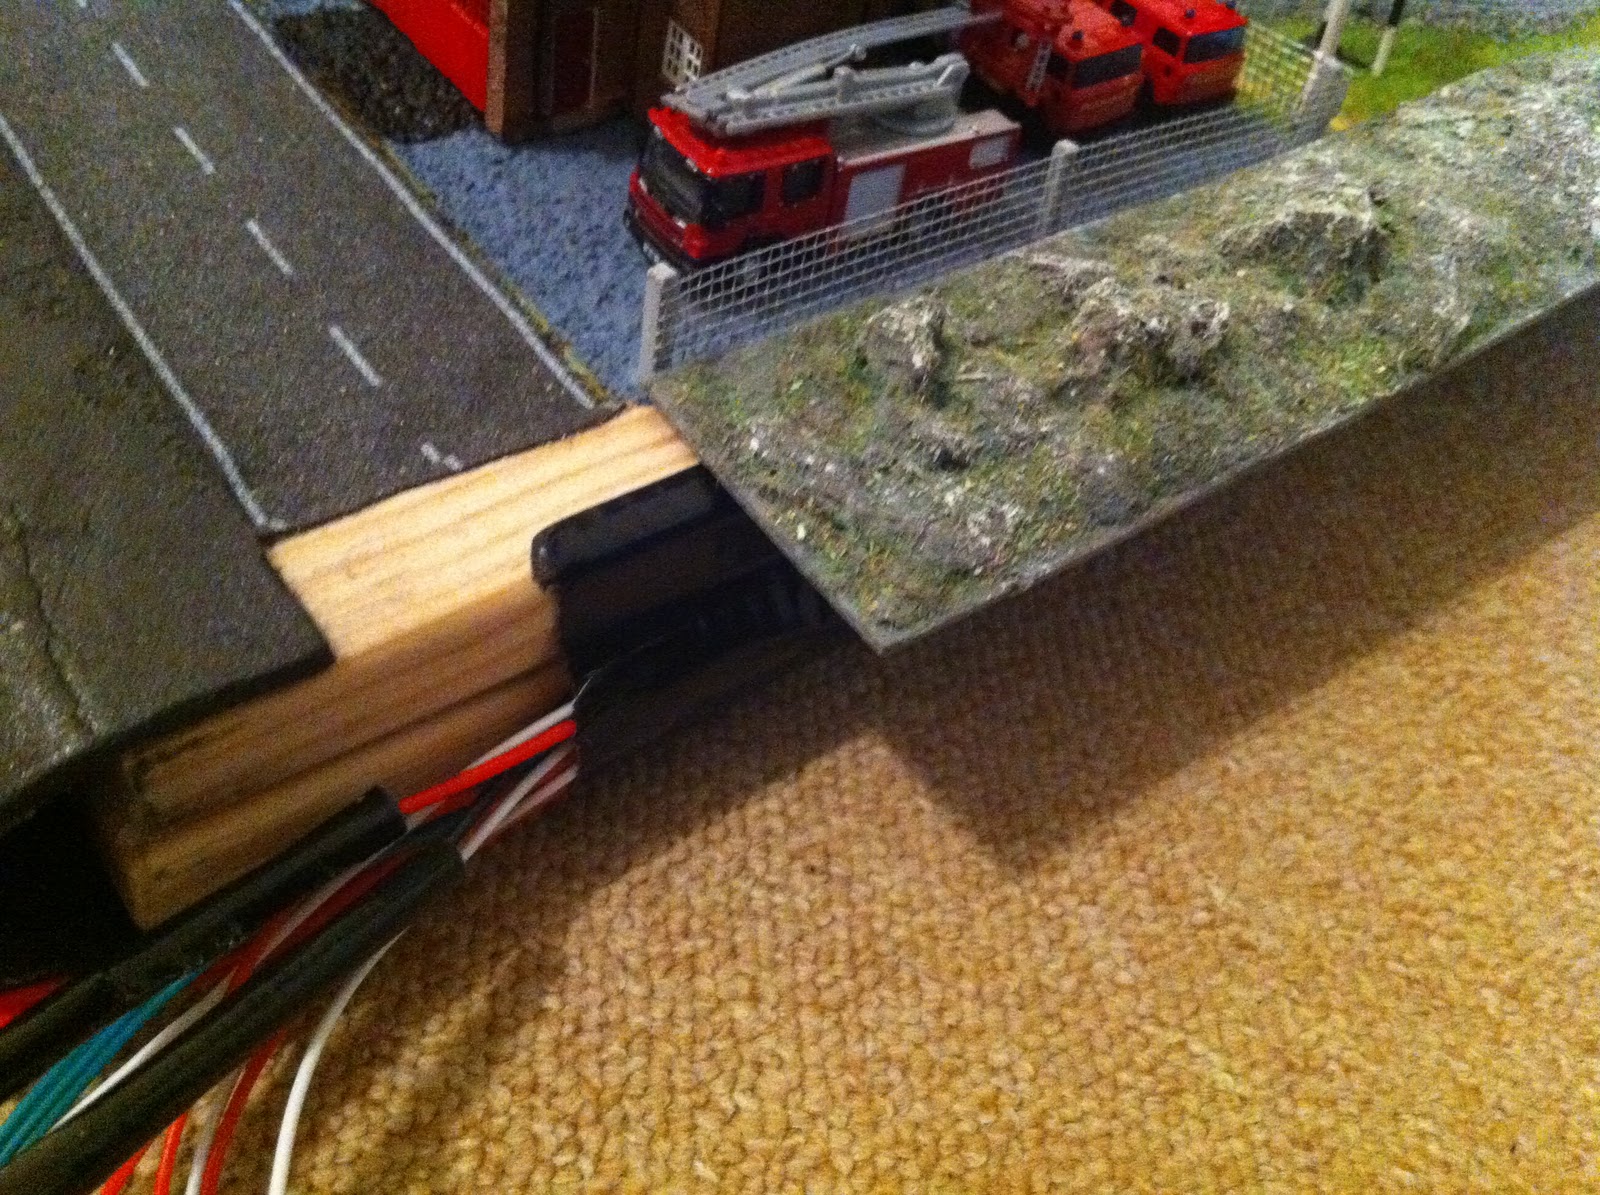
I introduced a second notice board beneath the main one to not only strengthen the layout, but to also give some protection to the basic wiring I have done.

STOP PRESS! I was tickled pink to find people that look like me in N Gauge! LOL! Black folk!! Courtesy of Ebay! Now I can put them amongst my white folk on the layout and I can happily burst out in song! "Eboneeee and Ivoreeee, live together in perfect harmoneeee!" LOL... Brilliant! (sorry)

Back to my lake/river development. Here the first layer of soil/earth has dried, ready for a second layer. I will then add some grass scatter. Next set of photos shows my progress.


Lake 99% complete! I'm happy with the results so far!

I added a couple of small structures to be used by the people that use the lake! Boats and things coming later!

Here I am wiring in a neat looking double headed floodlight to light up the drive way that leads to the train station car park. These floodlights, like a lot of the items I have managed to obtain, are so hard to get hold of, but thanks to the wonderful people at MDR DIRECT
I now have one. Thanks MDR!

The little paint pot is just to hold it in place for a while before permanent fixing to board.

Here I am preparing another smaller office notice board. I again painted it in black which will dry to a matt tar mac effect. The purpose of this piece of board, is to act as an extension to my main layout to make it bigger, if and when I need to. Hence the open ended piece of track at the station! It would then convert my layout to 7ft long! But again, it is not intended as a permanent extension, just a place to perhaps introduce a sidings maybe?.. and or airport???


Here you can see I am about to introduce the other smaller notice boards that I can just slip under the overlapping rockery to make it look seamless!


I have no intention of permanently fixing this extension to the main layout. I want the option to remove it easily for storage or relocation purposes! Apart from the track extensions to cater for two stabled trains, I may utilise the rest of the extension by creating an airport terminal or I could just be lazy and leave it bare. NOT A CHANCE! Airport terminal coming soon! :)


Here, the local residents are sitting on benches, taking in the sun in the communal back garden of the apartments

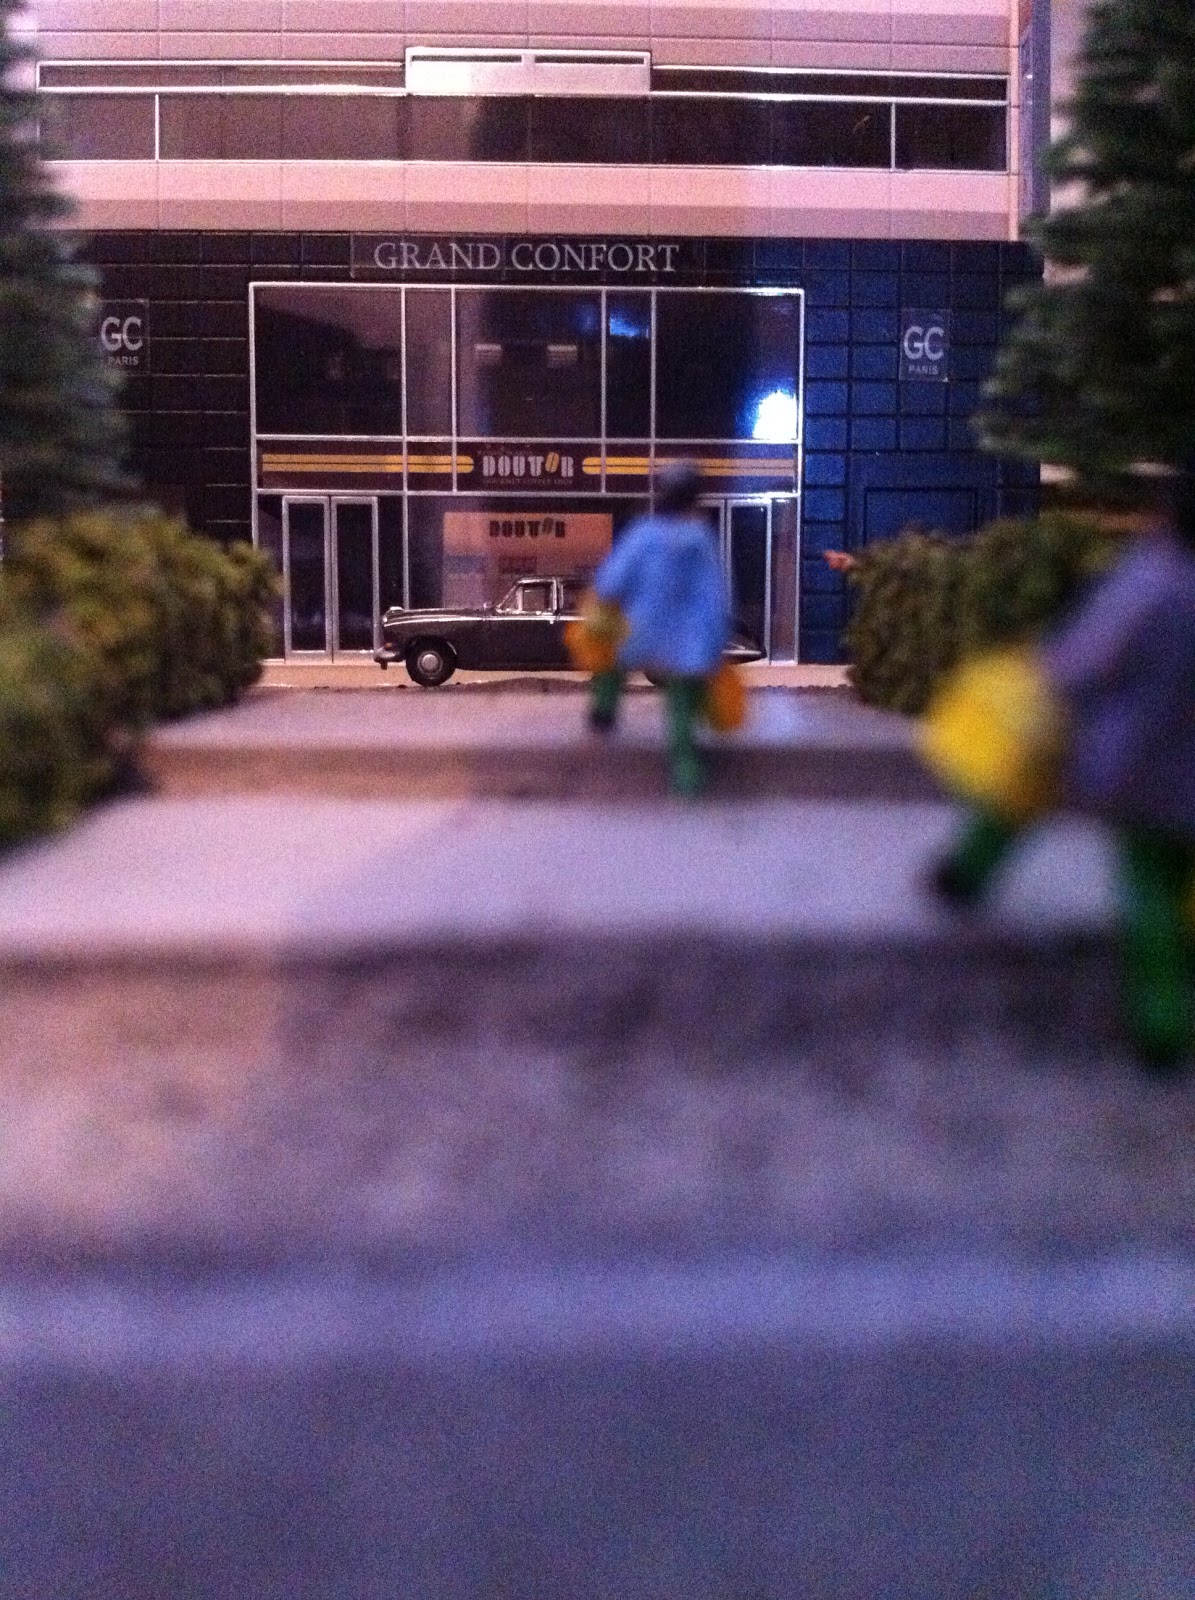
I've started to add shoppers outside the supermarket

Gradually my semi custom built train station is coming along nicely. Some figures added, and a bench (click to enlarge)

My station car park in place!

My five star hotel has opened for business! Not fully complete yet, I need to add international flags. I have added a limo, executive taxis and some figures


Having searched the internet and looking at other people's airport setups.. more often than not, the airport grounds are mostly a light grey colour. I could have gone online and bought airport layout mats, but I refuse to pay £50 to £100 for a piece of what looks like laminated cardboard grounds and runways. So out came the paint again!

This will dry to a nice matt finish


STOP PRESS!!! My first batch of model planes have arrived! They are a selection of highly detailed and very collectable Gemini Jets, Dragon Wings Jets and Herpa Jets!

This beautiful model represents the island my mother was from and my heritage. It is the Air Jamaica Airbus A340-300.
Thankfully, Air Jamaica has had a new lease of life and is now operating again. I am hoping to get a model with the new livery very soon!

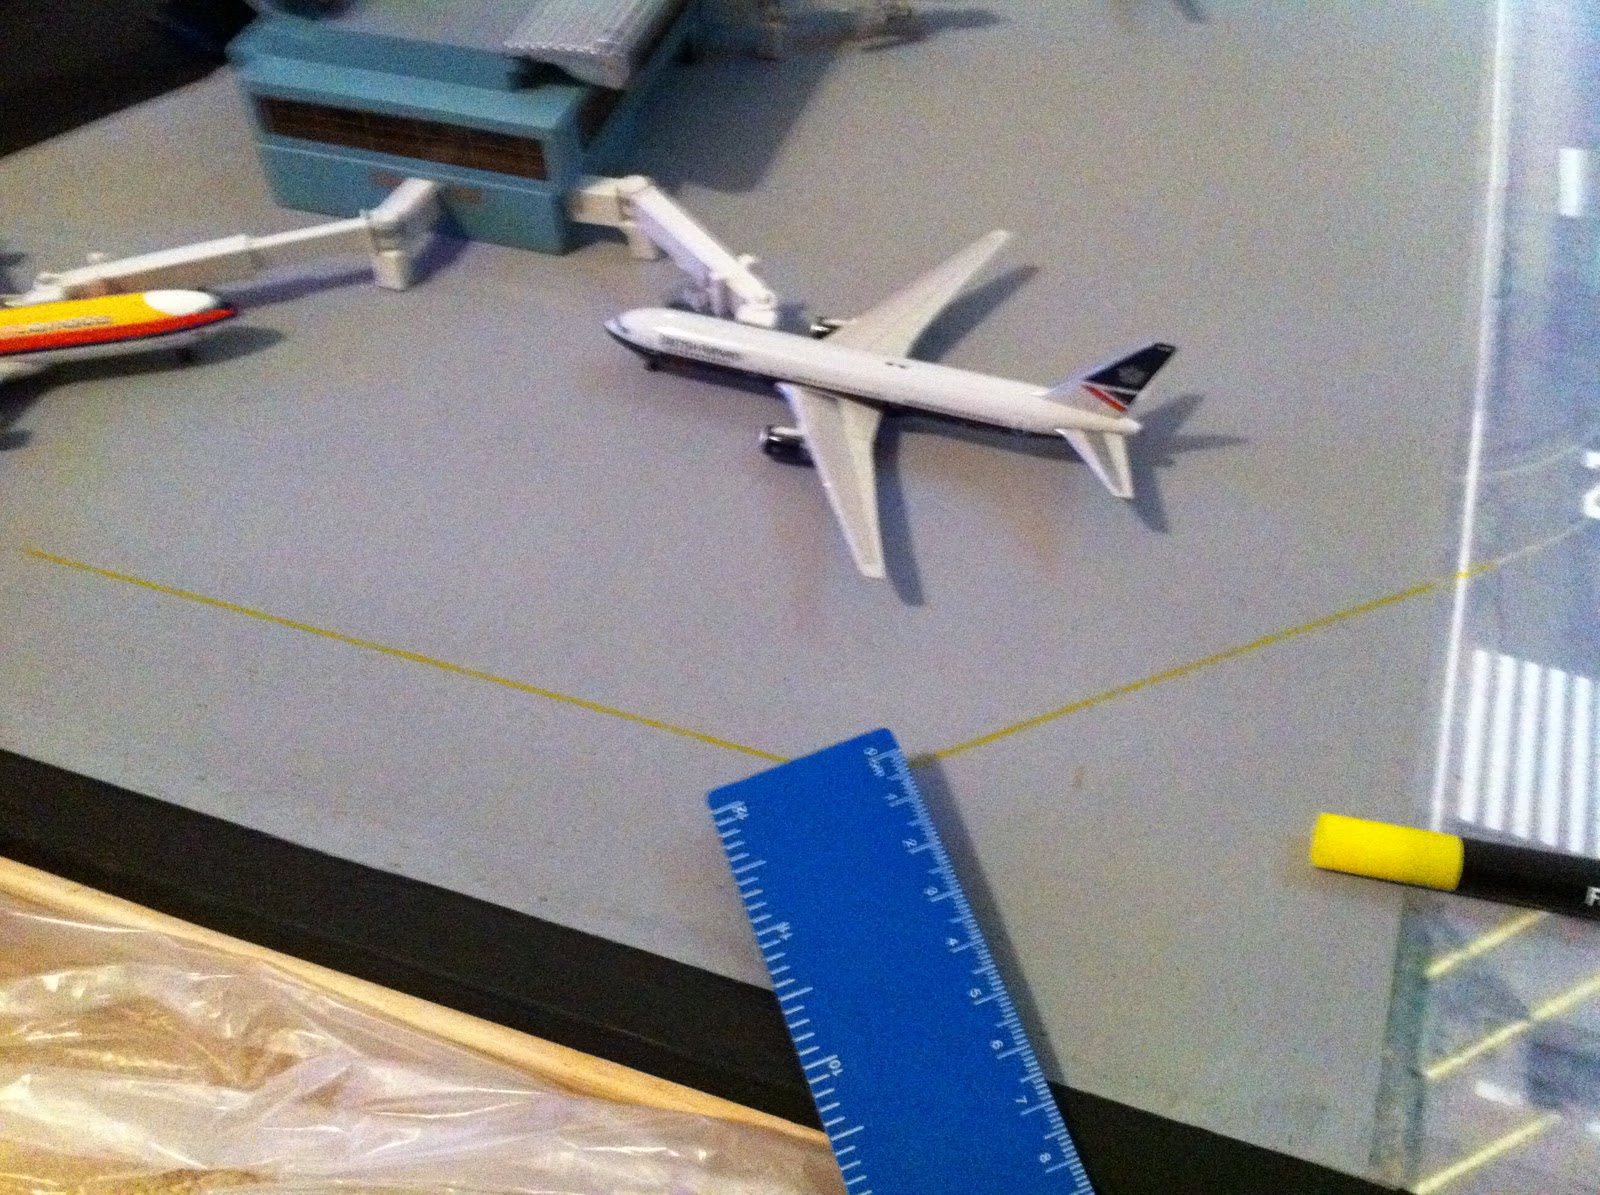
Naturally I must also promote the land in which I was born, Britain Britain BRITAIN! (to be said in the voice of Tom Baker from Little Britain) lol. (Sorry) Yes.. our world famous International Airline - British Airways! This beautiful model is the BA Boeing 767-300. Got this one from ebay! My collection will have legacy and currently in use planes, which I will feature in a full and final YouTube video coming very soon!


Here I have printed a couple of photos of a real Airport runway and have cut them to fit my layout!

Here is the runway on my layout! I plan to remove part of the railway track and extend the Airport & Runway further!

Here I am putting some ground markings for the Airport using a special yellow fabric pen, and have added a couple of planes to size up!

And here is my Airport terminal in place! It's the Gemini Jets Airport terminal that is much sought after and hard to find! It is not strictly to scale of the rest of my N-Gauge model railway layout, but is close enough and beautiful!


Then I used a special red fabric pen to mark the aircraft parking gates

I am using some yellow paint for more markings

I have printed my own panoramic backdrop for the airport. Notice an aircraft in the sky already! :)

I will give more updates on the airport section of my layout tomorrow, in the meantime.. STOP PRESS! All fire engines have arrived, polished and ready to go!

STOP PRESS again! An N-Gauge doctors/hospital helicopter came in the post today from Germany! For the life of me I could not find one in the UK! So here it is taking pride and place on the roof of the Hospital!


I will of course be doing little tweaks here and there to my layout, and any new updates or add ons will be posted in a new post :)

The little paint pot is just to hold it in place for a while before permanent fixing to board.

Here I am preparing another smaller office notice board. I again painted it in black which will dry to a matt tar mac effect. The purpose of this piece of board, is to act as an extension to my main layout to make it bigger, if and when I need to. Hence the open ended piece of track at the station! It would then convert my layout to 7ft long! But again, it is not intended as a permanent extension, just a place to perhaps introduce a sidings maybe?.. and or airport???

Back to my main layout! Here I have introduced some workmen to my design! Digging up the road! Hey?? I only just laid that road down mate! LOL


MORE UPDATES BELOW!
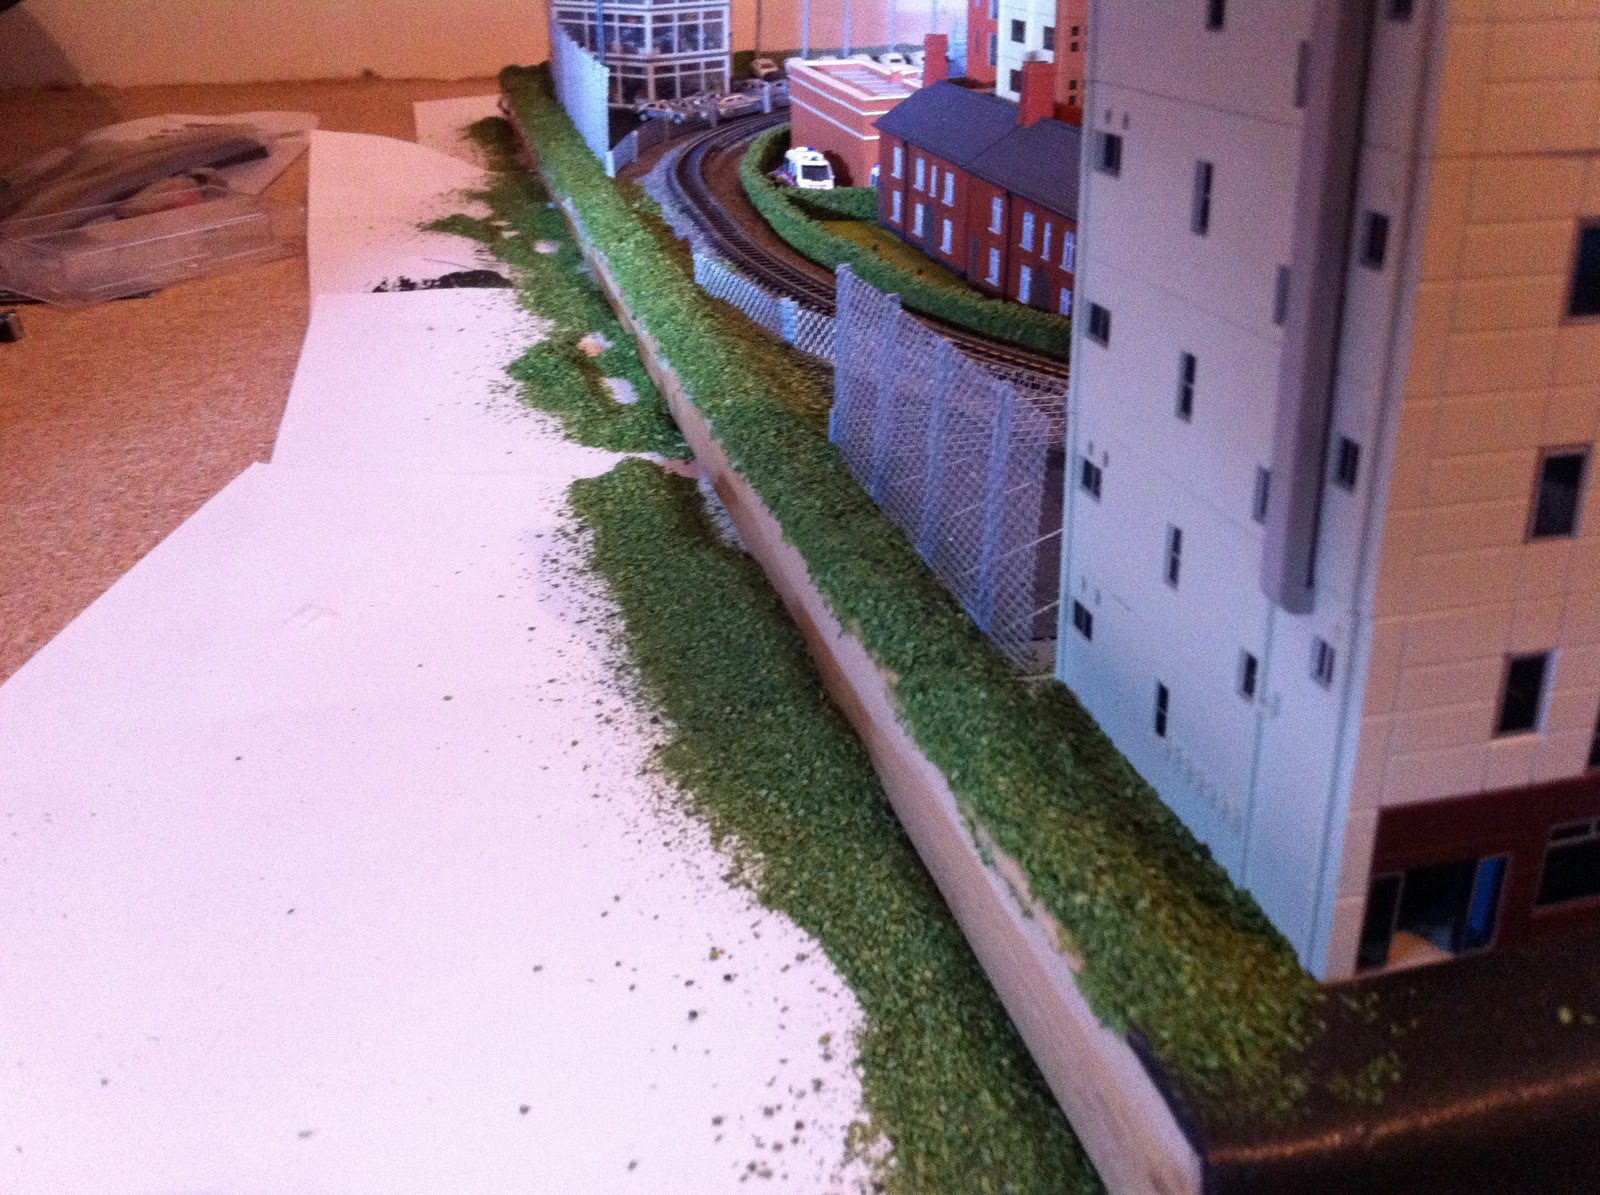
I have more to do on the main part of my layout, but right now I want to show you how I can easily extend my layout to 7ft long! I do this by putting some rockery along the edge so that it overlaps into thin air.

Here you can see I am about to introduce the other smaller notice boards that I can just slip under the overlapping rockery to make it look seamless!


I have no intention of permanently fixing this extension to the main layout. I want the option to remove it easily for storage or relocation purposes! Apart from the track extensions to cater for two stabled trains, I may utilise the rest of the extension by creating an airport terminal or I could just be lazy and leave it bare. NOT A CHANCE! Airport terminal coming soon! :)

MORE UPDATES BELOW!
Here I have added two people in their hired canoes!

Here, the local residents are sitting on benches, taking in the sun in the communal back garden of the apartments

I've started to add shoppers outside the supermarket

Gradually my semi custom built train station is coming along nicely. Some figures added, and a bench (click to enlarge)

My station car park in place!

My five star hotel has opened for business! Not fully complete yet, I need to add international flags. I have added a limo, executive taxis and some figures

MORE UPDATES BELOW!


This beautiful model represents the island my mother was from and my heritage. It is the Air Jamaica Airbus A340-300.
Thankfully, Air Jamaica has had a new lease of life and is now operating again. I am hoping to get a model with the new livery very soon!

Naturally I must also promote the land in which I was born, Britain Britain BRITAIN! (to be said in the voice of Tom Baker from Little Britain) lol. (Sorry) Yes.. our world famous International Airline - British Airways! This beautiful model is the BA Boeing 767-300. Got this one from ebay! My collection will have legacy and currently in use planes, which I will feature in a full and final YouTube video coming very soon!

MORE UPDATES!
Just putting the finishing touches to the airport grounds of my railway layout

Here I have printed a couple of photos of a real Airport runway and have cut them to fit my layout!

Here is the runway on my layout! I plan to remove part of the railway track and extend the Airport & Runway further!

Here I am putting some ground markings for the Airport using a special yellow fabric pen, and have added a couple of planes to size up!
And here is my Airport terminal in place! It's the Gemini Jets Airport terminal that is much sought after and hard to find! It is not strictly to scale of the rest of my N-Gauge model railway layout, but is close enough and beautiful!

NEW UPDATE! (TUES. 18th JAN 2011)
Here I am temporarily marking out (in pencil) the lines you would normally see on real airport grounds

Then I used a special red fabric pen to mark the aircraft parking gates

I am using some yellow paint for more markings

I have printed my own panoramic backdrop for the airport. Notice an aircraft in the sky already! :)


STOP PRESS again! An N-Gauge doctors/hospital helicopter came in the post today from Germany! For the life of me I could not find one in the UK! So here it is taking pride and place on the roof of the Hospital!

Here is a reminder of how small N-Gauge items are! Here, on the end of my finger is one of the figures from my layout! A uniformed lady giving directions! N-Gauge, very small, yet highly detailed. Again.. that's why I love N-Gauge!

NEW UPDATE! (WEDNESDAY 19th JAN 2011)
Adding some grass scatter to the edges of my layout
Last minute decision to put some internal lighting into one of my high rise skyscrapers. You can see the desired results soon, in a new HD video of my layout coming to my YouTube channel next week!

Here I am wiring an Airport Control Tower for the Airport section of my layout

NEW UPDATE, NEW VIDEO! Wednesday 26th January 2011
IT'S HERE!
MY VIDEO OF MY VERY FIRST COMPLETED N-GAUGE MODEL RAILWAY!
ENJOY! :)
I will of course be doing little tweaks here and there to my layout, and any new updates or add ons will be posted in a new post :)